Product Imagery and Three-Dimensional Visuals: Low-Budget Ways to Build Trust and Show Your Work
Buyer psychology is visual. A manufacturing site with terrible product photos looks amateur and loses trust. A site with polished product imagery looks professional and drives conversions. Treat return on investment (ROI) as a measurable output when comparing image production options. But professional photography is sometimes out of reach: $1K–$5K per shoot. Here’s how to start a professional product image library on a budget, and when (and how) to use 3D renderings. Base your budget model on 2026 production costs and channel goals.
DIY Product Photography: The Budget Option
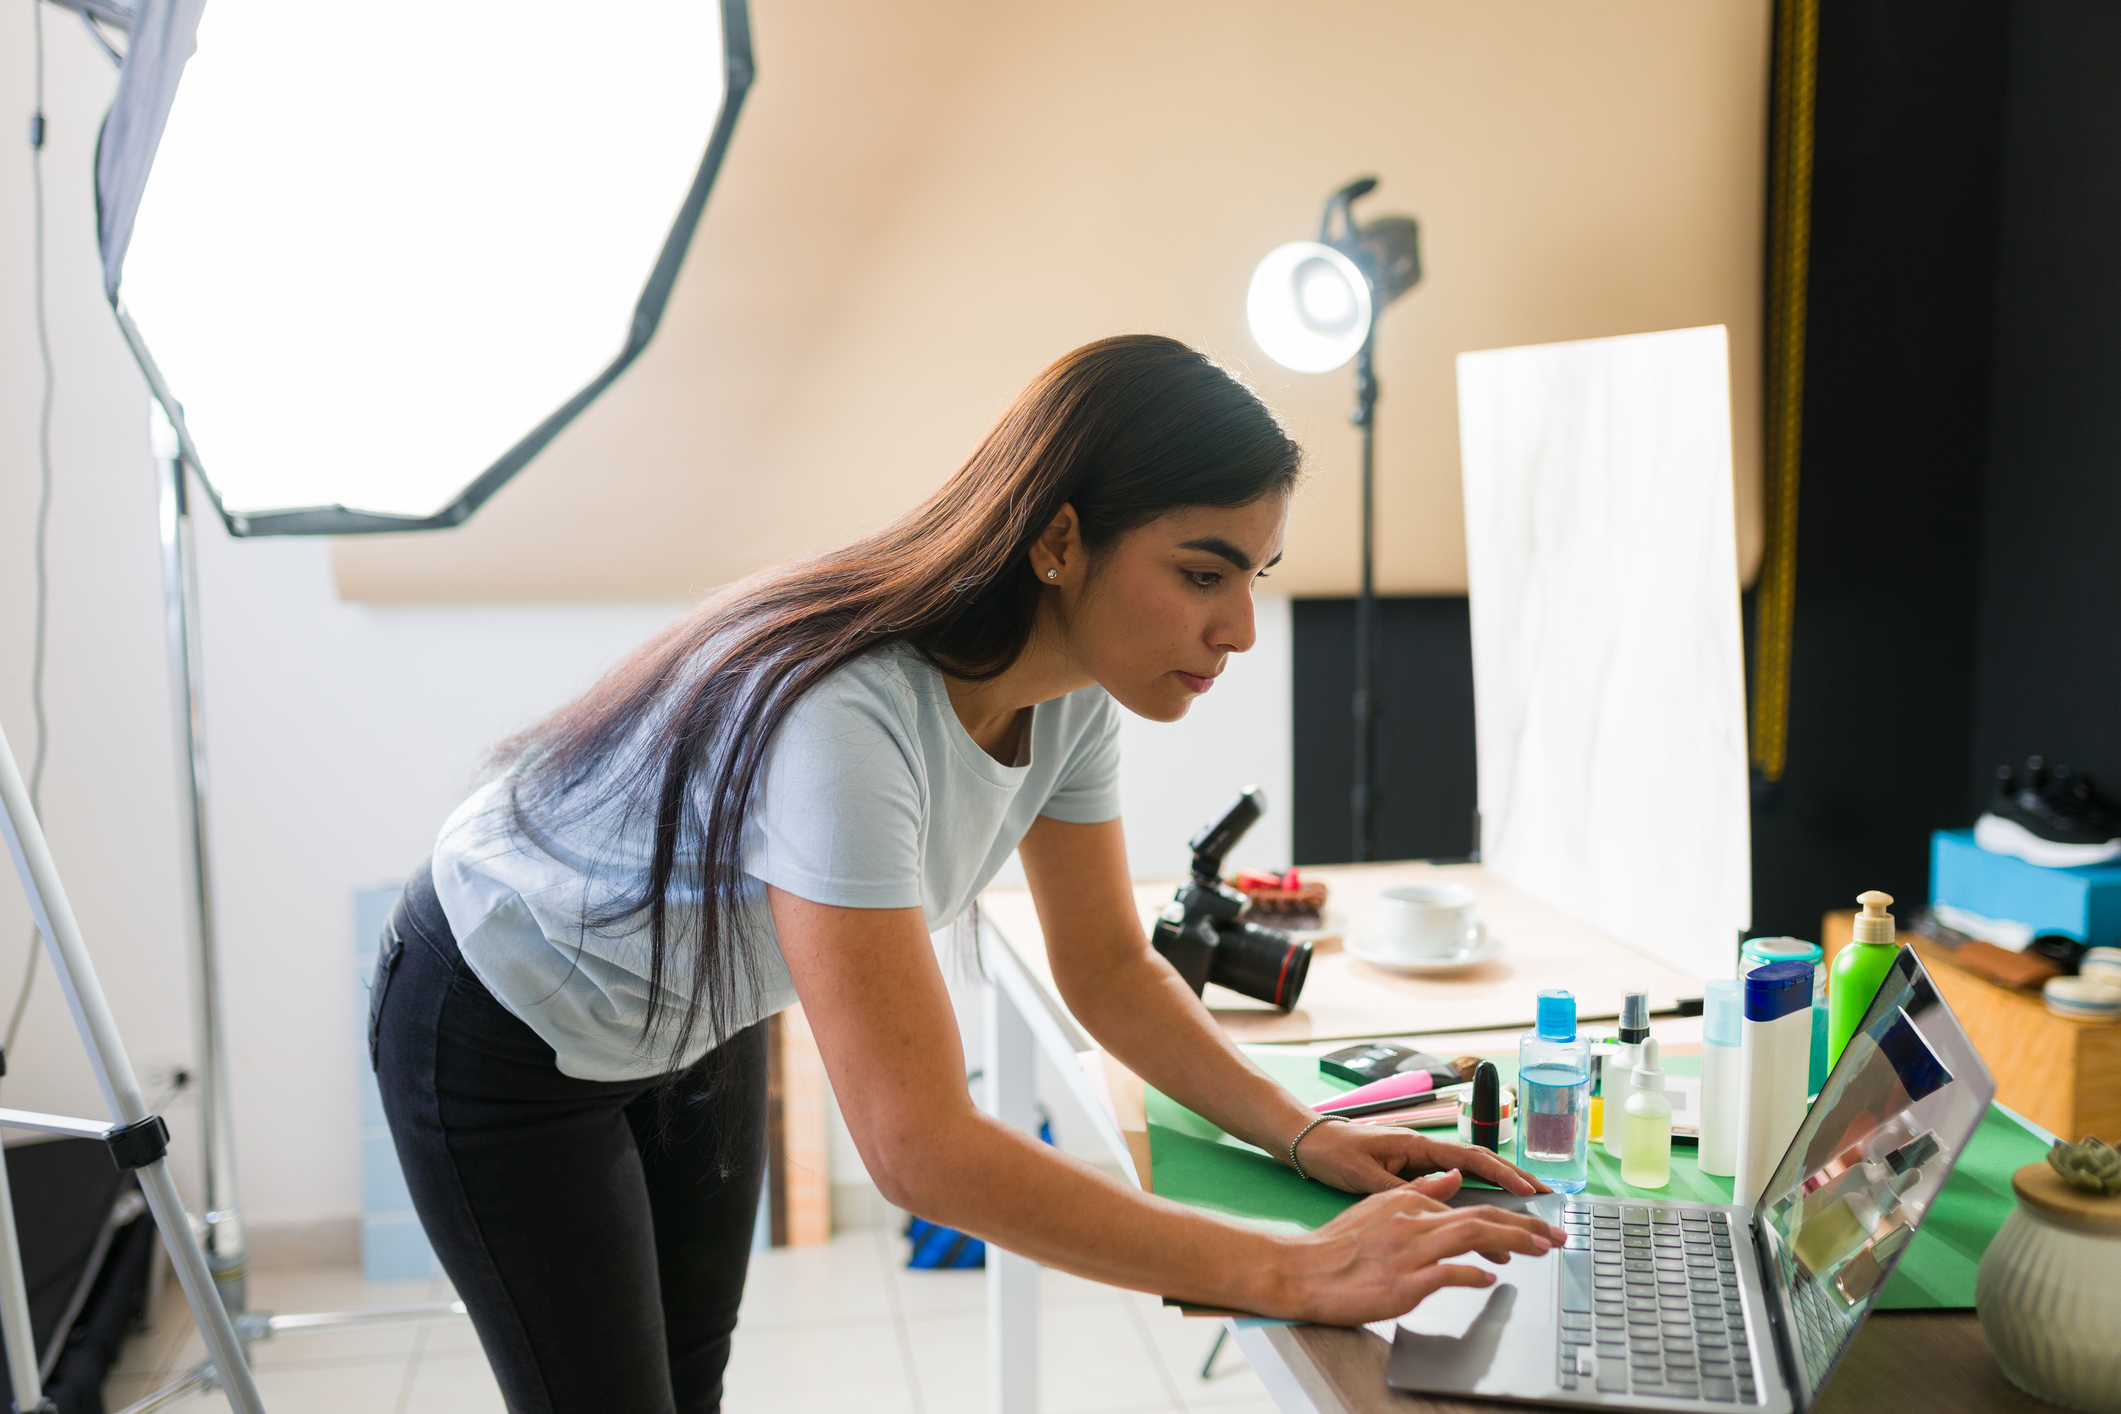
What you need ($50–$200 upfront):
- Your phone (camera quality is good enough)
- Lighting: $30 ring light from Amazon + white poster board for reflectors
- Backdrop: $20 white fabric or poster board
- Optional: $50 lightbox (pre-made photography box with built-in lighting)
The setup (30 min):
- Place white poster board on a table as backdrop
- Set ring light behind/beside the product for even lighting (avoid shadows)
- Use white poster board as reflector opposite the light to bounce light into shadows
- Position phone on a tripod or propped at an angle
- Shoot 20–30 angles of the product (close-up, distance, overhead, detail shots)
- Edit in your phone (brightness, contrast, crop) or Photoshop ($20/mo)
Pro tips:
- Shoot in daylight if possible (natural light is free and looks better than tungsten)
- Use a window as your light source + poster board reflectors
- Take many photos; keep only the sharpest ones
- Remove dust/spots in post-editing
- Standardize background and lighting for consistency
Expected quality: 80% of professional quality for 5% of the cost. Good enough for web; noticeable if you’re trying to win with pure visual appeal.
When to Hire a Professional Photographer
Hire a professional if:
- You’re optimizing your conversion rates in a competitive market
- Your products are your main visual differentiator (e.g., high-end jewelry, luxury goods)
- You want hero images for marketing campaigns (landing pages, ads, social)
- Your products are complex and need lifestyle context (showing them “in use”)
- You have 20+ products and need consistency and speed
Cost: $500–$3,000 per half-day shoot (usually 50–100 products)
Expected quality: Professional lighting, composition, retouching. Noticeably better than DIY.
Professional photography is worth the investment much sooner than you think!
ROI: If professional photos increase conversion rate by 15–25% (typical), and you sell $100K/month, the $1K photo shoot generates $15K–$25K in incremental revenue. Payback in 1–2 weeks.
3D Rendering: High-Impact, Increasingly Affordable
What’s a 3D render? A computer-generated image of your product. You provide CAD drawings or 3D models; a designer renders realistic photos from any angle, lighting, or background.
Advantages:
- Infinite angles without reshooting
- Can show product “exploded” (parts separated) to show internals
- Can add context (product in a factory, on a desk, etc.) without actually staging it
- Fast iteration (change colors, materials instantly)
- Perfect for manufacturing (complex assemblies are hard to photograph)
Cost options:
- Budget ($200–$500 per product): Freelancer on Upwork/Fiverr. Variable quality. (not recommended, but can fill the gap temporarily)
- Mid-range ($500–$2,000 per product): Specialized 3D studio. Good quality and speed.
- Premium ($2,000–$5,000+ per product): High-end studio. Photorealistic, includes animation.
Timeline: 1–4 weeks depending on complexity.
When to use 3D renders: Complex assemblies (CNC parts, machinery), products where angles matter (tools, fasteners), when you need variety and iteration speed.
Stock Images: When DIY Isn't Enough
Stock image platforms: Shutterstock, Getty Images, Adobe Stock, iStock.
Use case: You don’t have product photos yet, or you want supporting images (people using your product, manufacturing scenes, etc.).
Cost: $200–$500/month for unlimited downloads (much cheaper than licensing per-image).
Pro tip: Don’t use stock images as your primary product photos (it looks generic and hurts trust). Use them as supporting/contextual imagery.
90-Day Imagery Roadmap for a DIY Library
Month 1: Audit & Quick Wins ($50 upfront)
- Review current product images. Which products have terrible photos?
- DIY shoot 10–15 top-selling or high-margin products
- Expected time: 8 hours. Output: 10 products with better images.
Month 2: Build Content Library ($0–$500)
- DIY shoot remaining products (8 hours / 10 products)
- Optionally: Hire 1 professional product shoot for hero/marketing images
Month 3: Enhance & Iterate
- Add 3D renders for top 3–5 most complex products ($1,500–$2,500)
- Create lifestyle/context images using stock photos or in-house photography
- A/B test: DIY photos vs. professional photos on product pages. Measure conversion impact.
Total 90-day investment: $2,000–$3,000
Expected result: Professional-looking product imagery library that builds trust and drives conversions.
Let’s Plan Your Product Image Strategy
Not sure if you should DIY, hire a photographer, or use 3D renders? Let’s audit your current imagery and develop a strategy. Schedule an imagery strategy session.
Key Takeaways
- Product imagery matters for trust and conversion. Amateur photos lose sales.
- do-it-yourself (DIY) photography can work if you’re willing to learn basic lighting and composition.
- Professional photography is worth it for hero/marketing images and pays for itself quickly.
- 3D rendering is ideal for complex, technical products. Cost is dropping and quality is rising.
- Budget path: Start DIY, measure results, invest in professional shoots for top performers, layer in 3D for complex products.